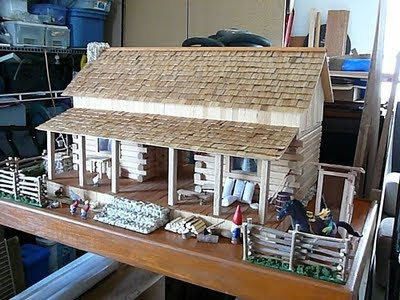
My dear Hubby got me a log cabin for my birthday. He had heard me say how I really liked the looks of them for a rustic dollhouse.
It was really nice looking except for the big empty spot in the middle. It was like a porch inside the house. But I figured we could re build it and make it work. Well, over a year later and I finally decided to jump into it.
Out came one of the walls to make a large livingroom and kitchen. I also knocked out the short door to the other room. I reused the logs to fill in the front hole and make a new door for an entrance. For the extra window, I used the plastic off of a tool kit.
Even the inspector liked our new door.
To fill in the gaps between the logs, we used a new to us product. It worked much better than the old one. It applied really easy and let us work it into the seams. I didn't want to take photos inside and see light thru the logs.
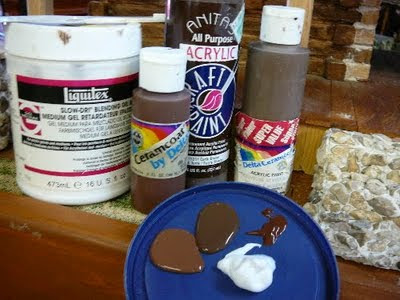
Once that dried overnight, I got busy staining the logs. I use plastic lids or the lids my can opener cuts off cans for a paint pallet. I use a painting gel medium to slow drying and to get more of a stain instead of a heavy paint. I use a dark, medium and light brown to blend colors.
Louigee was painting the upper part of the log cabin.
He is not the best painter but he works cheap.
A little paint on the shingles is no problem. I took the same gel medium and brown paints to mask the oops.
Once it is dry, you would never know there was a problem.Now the roof looks old like the cabin. I also had to deal with the posts on the porch being moved and they had stained the floor while they were in place.
I used the darker color and gel medium in the light areas and then blended in the lighter shades with the gel medium. Wood doesn't always stay the same color throughout the board.
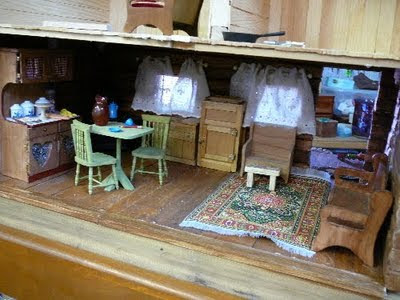
Moving furniture from the guest house, which is really room boxes and placing it is next.
The upstairs still needs painting and sealing, but I got excited and needed to make sure things fit.
The upstairs is next.


Fantastic cabin!!!!!
ReplyDelete